Stainless steel? It’s just like any other steel when it comes to grinding!
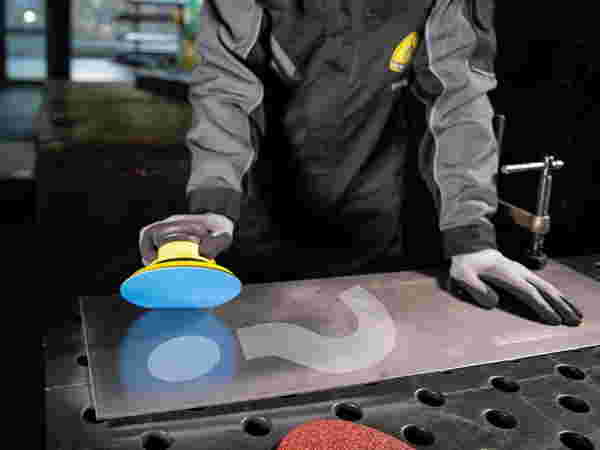
Corrosion-free, durable, heat-resistant, conductive and hygienic: depending on the alloy, stainless steel has many special properties and is considered to be of very high quality. When it comes to grinding, however, this ‘queen’ of materials is often misunderstood. Kevin Scholz, Head of the Klingspor Training Academy, debunks the most common grinding myths surrounding stainless steel.
Container for the scroll indicator
(Will be hidden in the published article)
Grinding myth #1
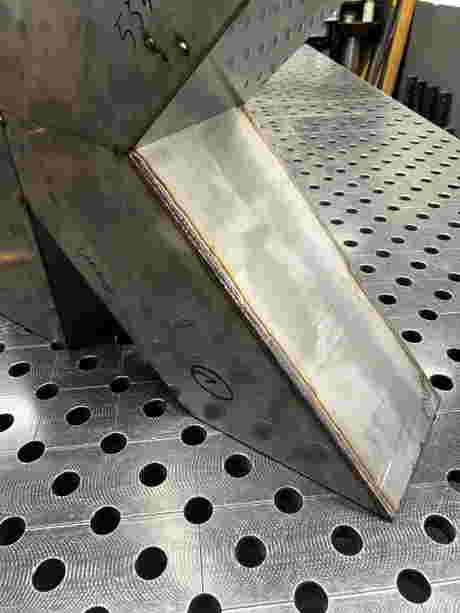
Stainless steel is and remains rust-free, even after grinding
Unfortunately, this isn’t always true. To ensure there are no rusty surprises with stainless steel after sanding, special treatment is required:
“Stainless steel must not come into contact with steel, otherwise it will, so to speak, catch rust,” says Kevin Scholz.
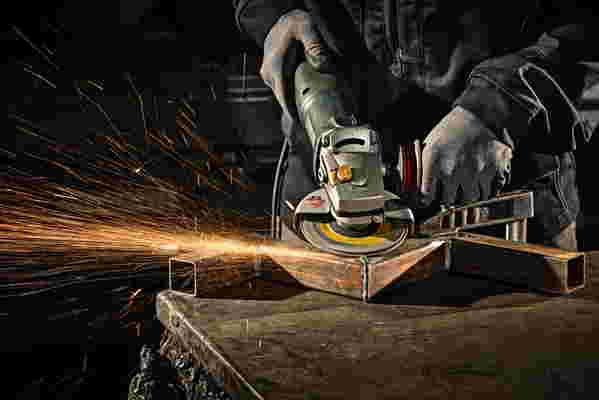
There are two ways this can happen: firstly, through contact corrosion, when the same grinding wheel is used to grind a steel part first and then a stainless steel part. Secondly, through flash rust, when sparks from grinding steel strike nearby stainless steel workpieces.
The risk of rust also increases if surface defects creep in during grinding. Burrs, gouges and similar imperfections prevent the protective chromium layer, which is broken up during grinding, from reforming properly, leaving the component susceptible to corrosion.
The grinding truth: rust-free only with extra treatment
“Anyone grinding or cutting stainless steel should always use abrasives that are not used for any other purpose,” recommends Scholz. “This investment is worthwhile because it prevents contact corrosion caused by the tool.” If stainless steel and steel are machined in the same workshop, clear separation is essential here too: stainless steel parts must not be within the range of flying sparks whilst steel is being ground.
Grinding myth #2
Higher speed means you finish faster
Higher speed, greater material removal, faster results: whilst this is actually true for many materials, it is a myth when it comes to stainless steel: “A higher speed on an angle grinder does not produce faster results with stainless steel; instead, it generates too much heat and thus causes discolouration that requires reworking,” says Kevin Scholz, debunking this myth.
This is because discolouration is by no means merely unsightly. It indicates that the protective chromium layer has been damaged. Without further finishing, this increases the risk of corrosion.
The grinding truth: reduce speed and pressure when working with stainless steel
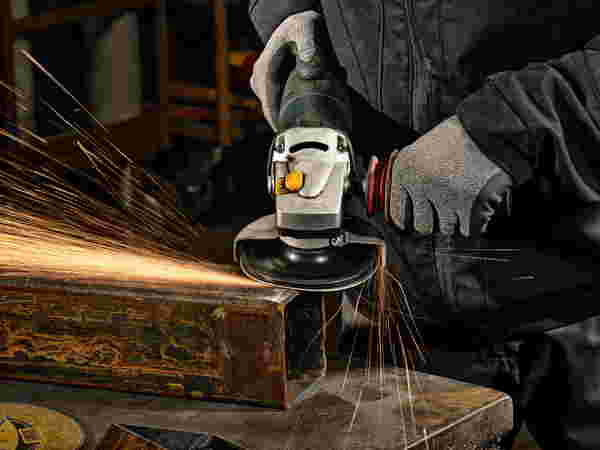
You can achieve a good grinding result more quickly on stainless steel – without time-consuming reworking – by using low speeds rather than high ones. Conventional angle grinders usually operate at a speed of 10,000 rpm. “With stainless steel, however, speeds of no more than 7,000 rpm make sense,” says Scholz. Special Inox angle grinders are factory-set to this speed and can be reduced further if necessary. What applies to the rotational speed when working with stainless steel also applies to the grinding pressure, adds Scholz: “Applying less pressure also reduces heat build-up and thus discolouration and the risk of needing to rework the piece.” It is therefore advisable to carefully test how much pressure is actually necessary to achieve the desired grinding result.
We have come across many grinding myths time and again over the years – regardless of experience or application.
Kevin Scholz Head of Klingspor Training Academy
Sanding myth #3
Ceramic grit is best for stainless steel
“Abrasives with ceramic grit are great tools for hard materials. Stainless steel is also a hard material, yet ceramic grit is often not the right choice here,” says expert Kevin Scholz. This is because aggressive ceramic grit is always suitable when high material removal rates are required, such as when removing a coarse weld seam.
When grinding stainless steel, however, it is usually not the material removal rate that matters, but the surface finish. Often, surfaces with a very fine texture or outstanding appearance need to be created. “You can do a lot of damage with overly aggressive ceramic grit: too much material removal, a surface texture that’s too coarse, or discolouration caused by heat build-up,” says Scholz, listing the risks.
The truth about grinding: choose the grain type according to the grinding objective
The type of grain has a decisive influence on the grinding result, but it is not the only factor that should be taken into account, says Scholz: “You should first be clear about what you want to achieve when grinding. Then look at the entire grinding process and consider which combination of grain type, distribution density, bond and backing will best help you achieve this goal.”
1
Button 1
2
Button 2
3
Button 3
4
Button 4
5
Button 5
6
Button 6
7
Button 7
8
Button 8
9
Button 9
Abrasives
Grit type
Backing
Bond type
Grit size
Fastening type
Spreading method
Workpiece
Material
Shape/geometry
Surface condition
Pre-treatment
Grinding process
Cutting speed
Feed rate
Cutting depth
Contact pressure
Material
Machinability
Temperature behaviour
Grinding result
Surface finish
Material removal
Material removal per unit time
Service life
Machine
Type and design
Rigidity
Accuracy
Additives
Emulsions
Oils (spray/flood)
Paste
Contact element
Dimensions
Hardness
Facing material
Profile type
Machine accessories
Contact element
Clamping system
Cooling system
Cleaning system
Would you like to fill in the gaps in your knowledge?
We’re dispelling more myths about sanding, cutting and drilling. Interested?
Then visit the Klingspor Training Academy – a place where customers become true fans. Discover the fascinating world of sanding, cutting and drilling now! Upon request, we can offer you courses tailored specifically to your needs!